Get Better Results from a Photo to Anime Tool
The source image and creative direction shape the result together. A strong photo gives the model useful information about the subject, while a precise description explains how that information should be interpreted. Before you generate with the image to anime converter, decide whether likeness, costume, pose, background, or overall mood is the highest priority. Put the most important requirement first and keep the rest of the prompt consistent with it.
Start with a Photo That Shows the Subject Clearly
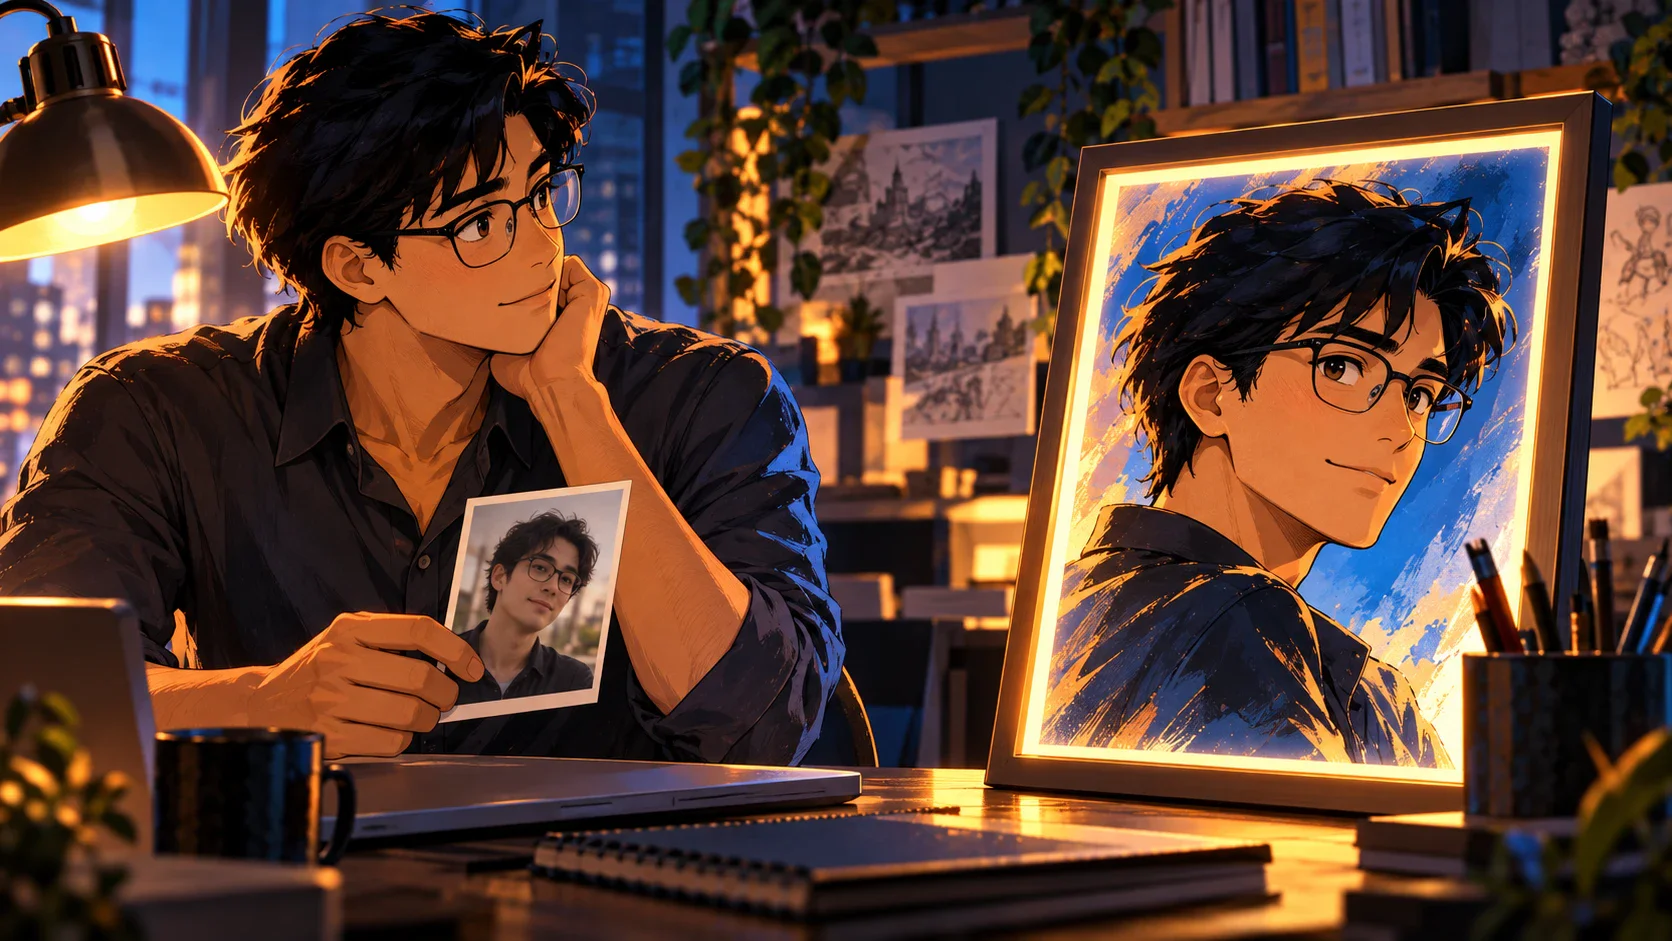
A front-facing or three-quarter portrait usually provides more usable facial information than a distant or heavily obscured shot. Balanced lighting helps the converter read the eyes, hairline, skin tone, and clothing edges. For a full-body anime character, choose a source image that includes the complete pose without cutting off hands or feet. Busy backgrounds can compete with the subject, so describe whether the original setting should be simplified, replaced, or retained.
Describe Visual Traits Instead of Copying a Named Style
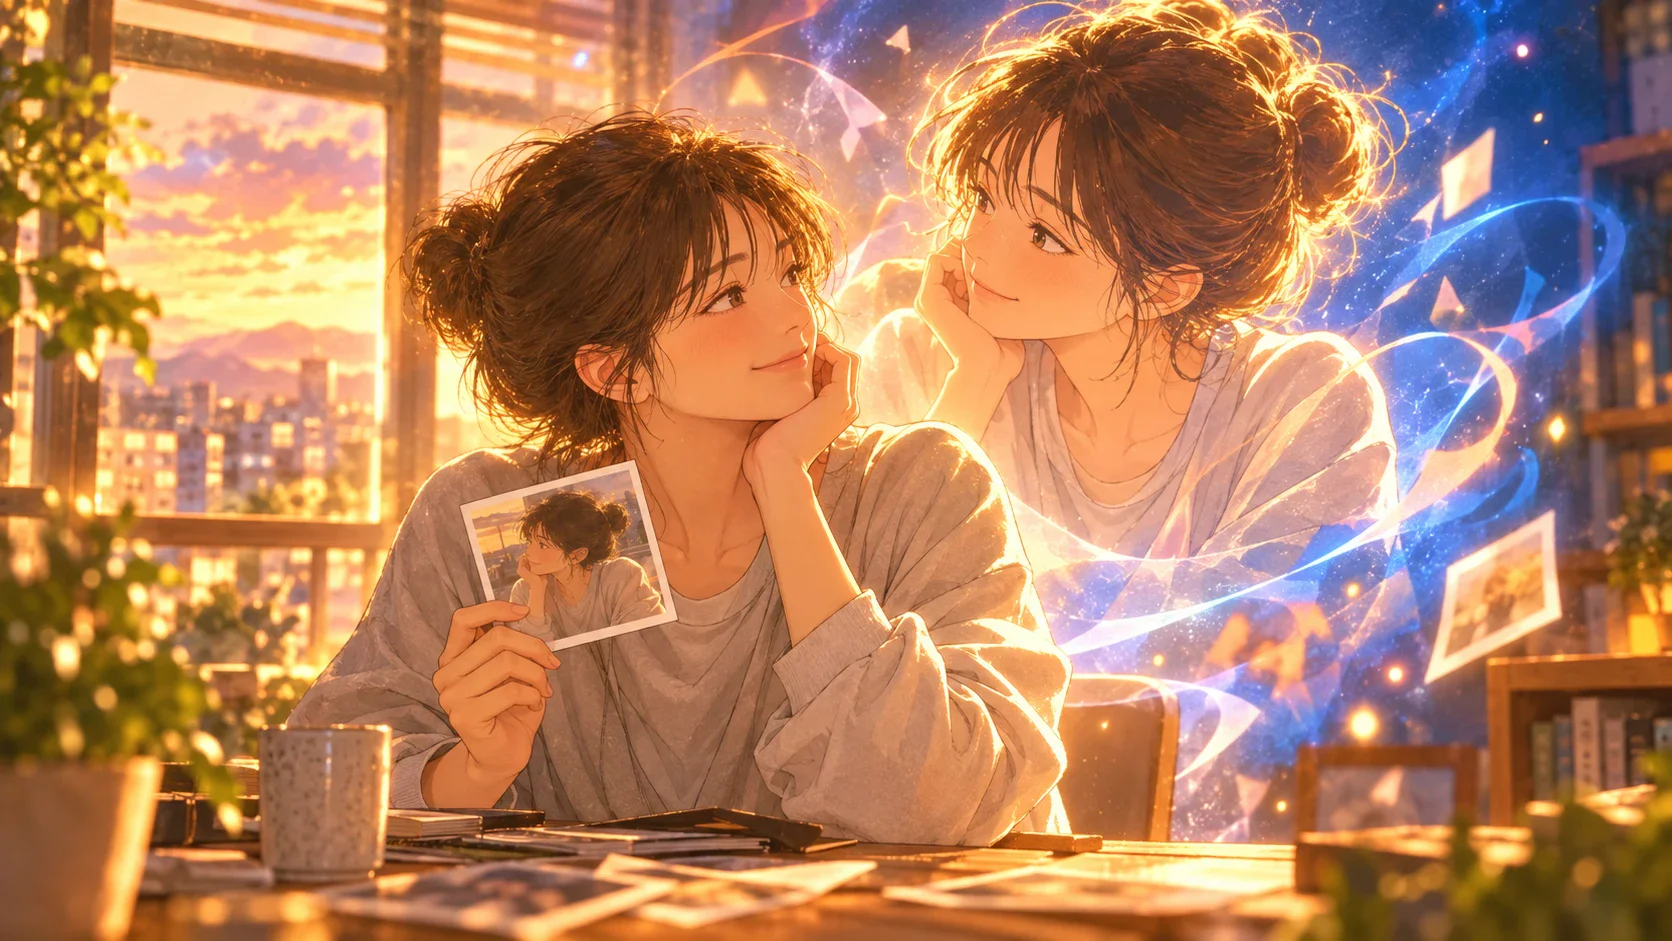
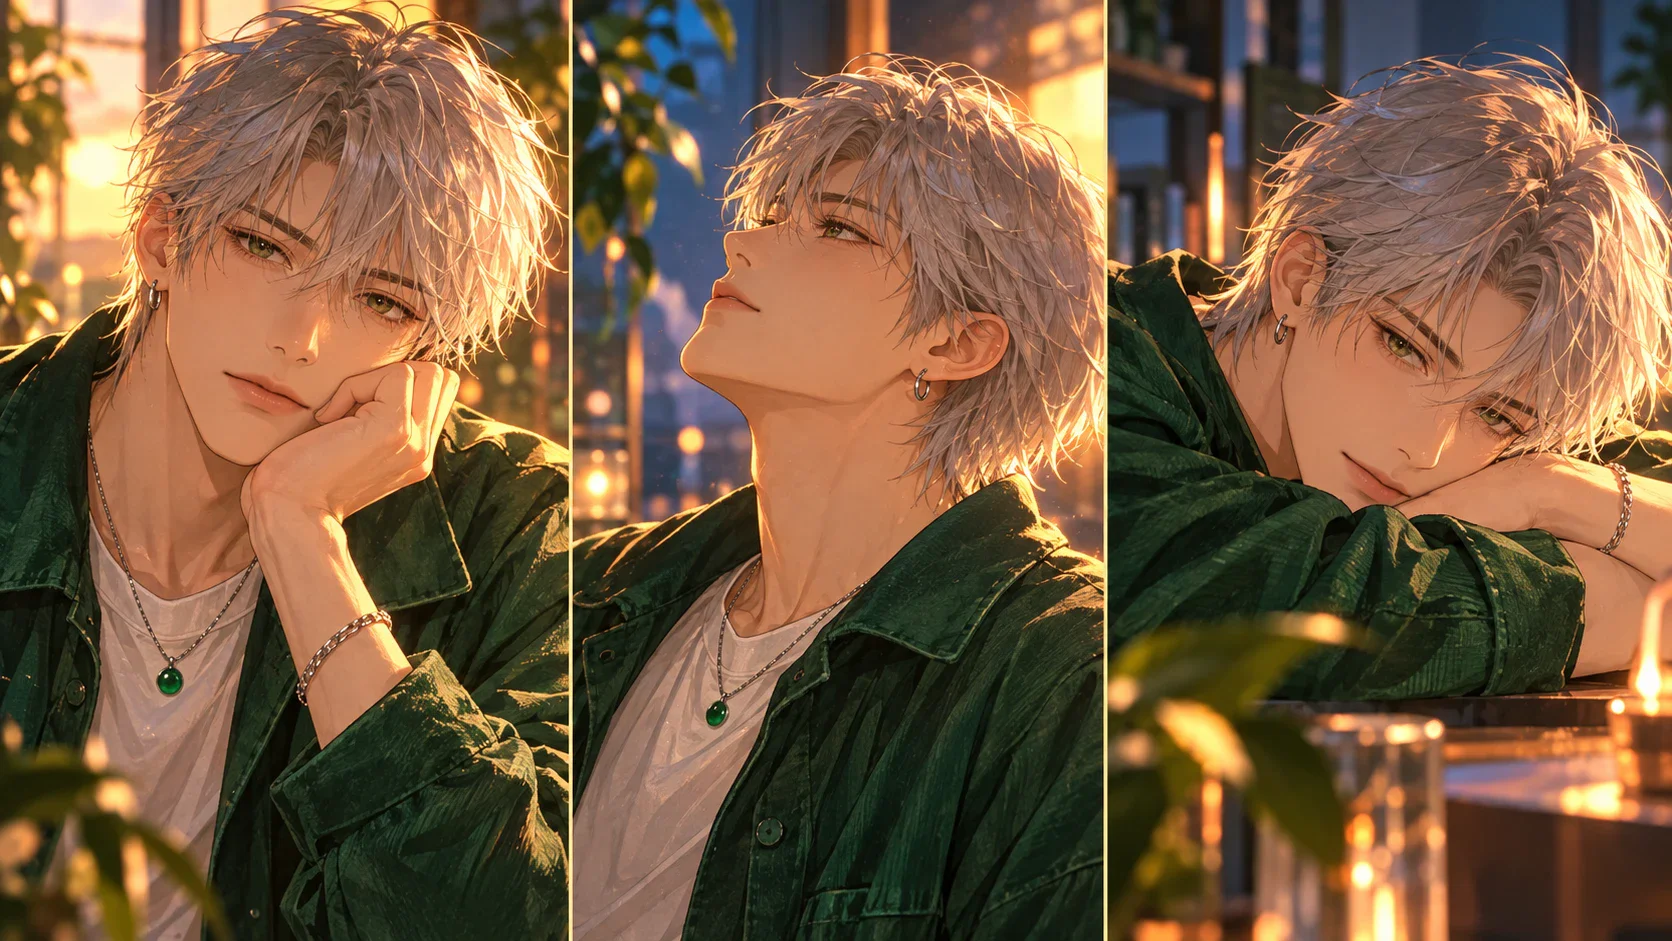
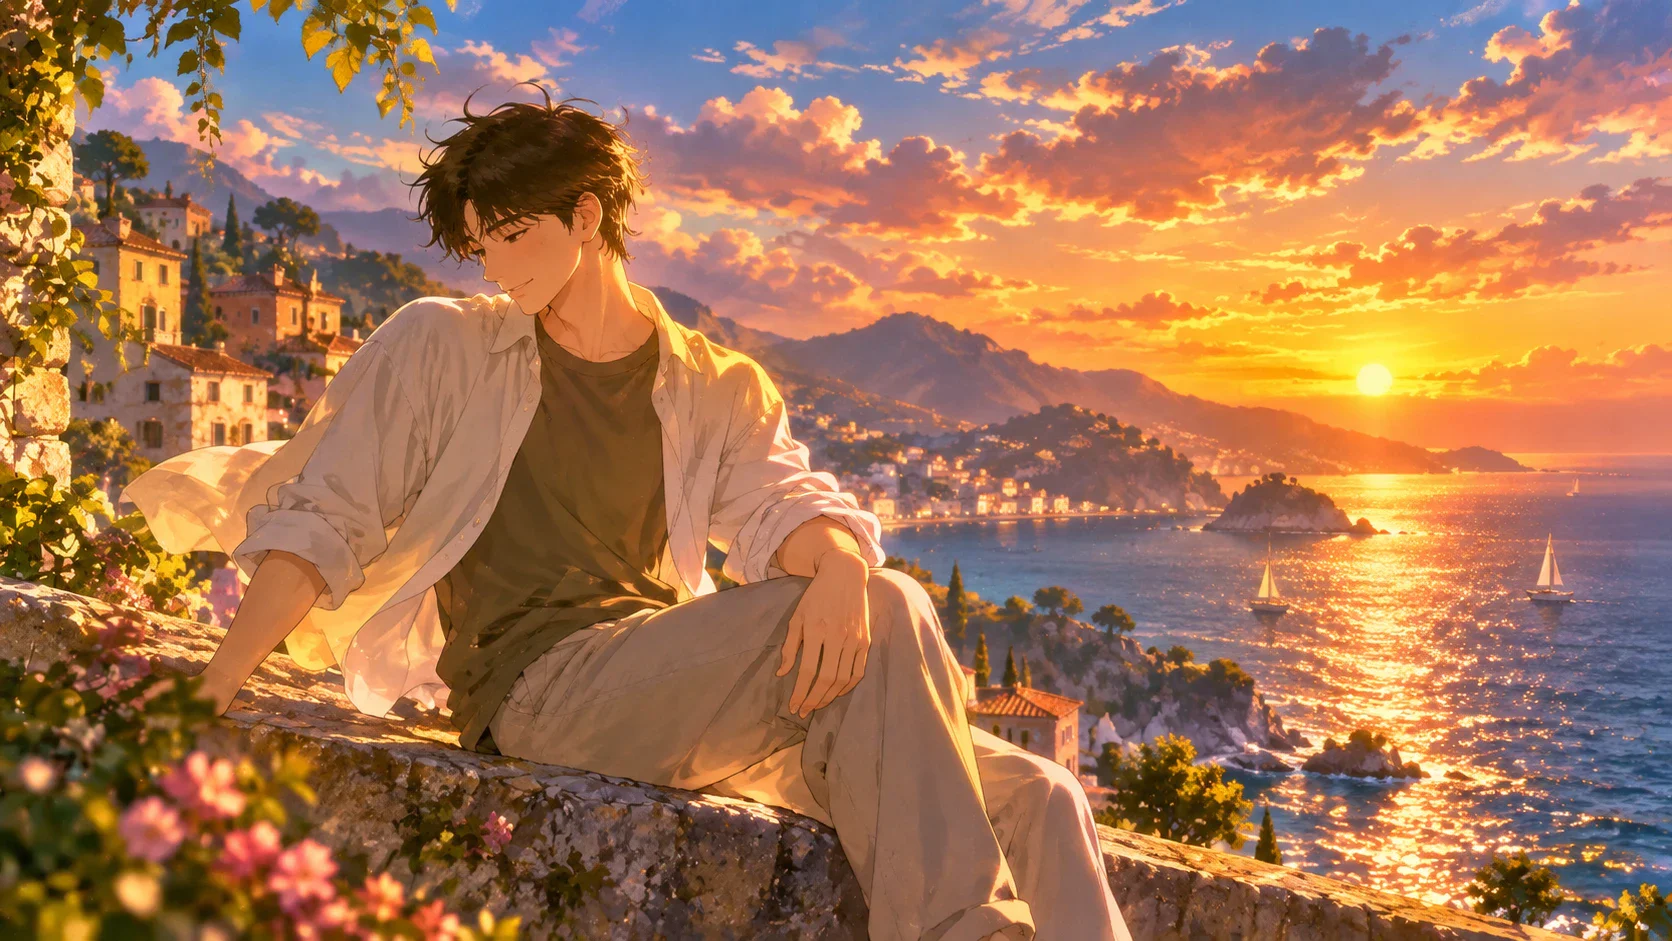
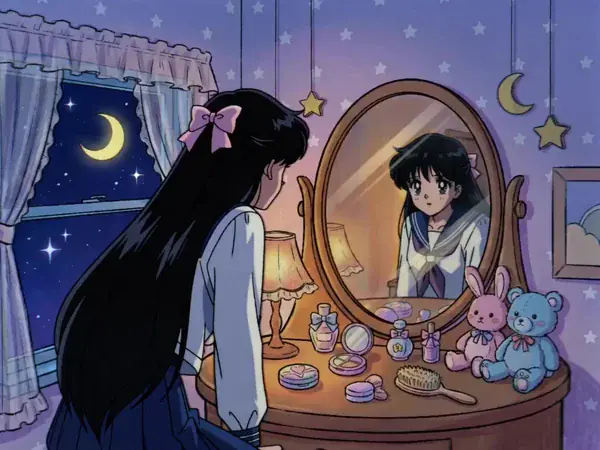
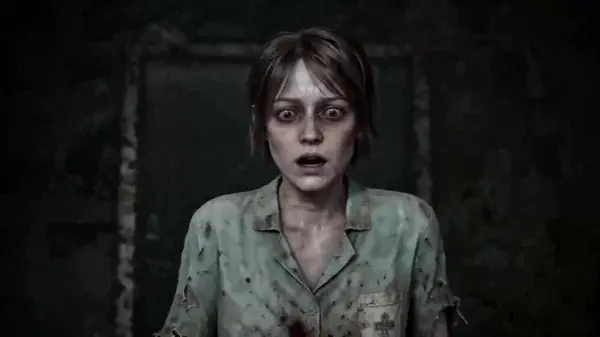
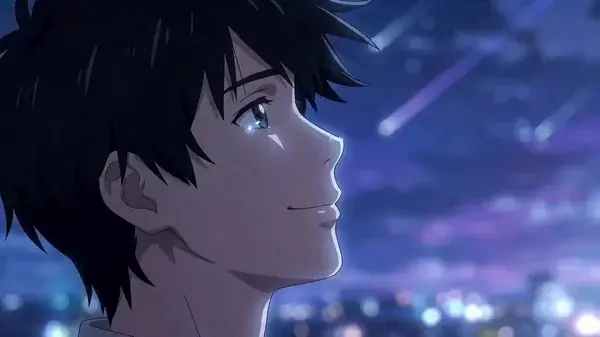
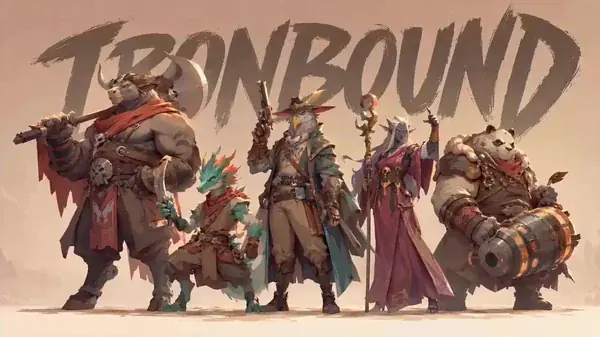
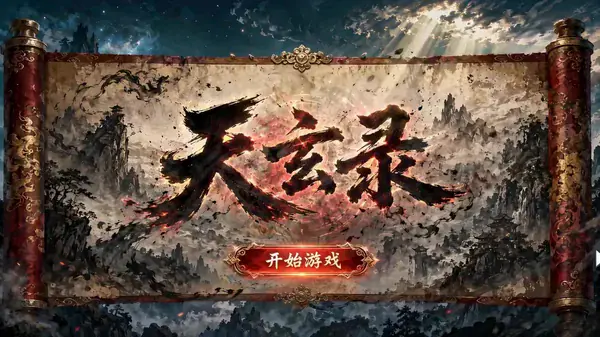
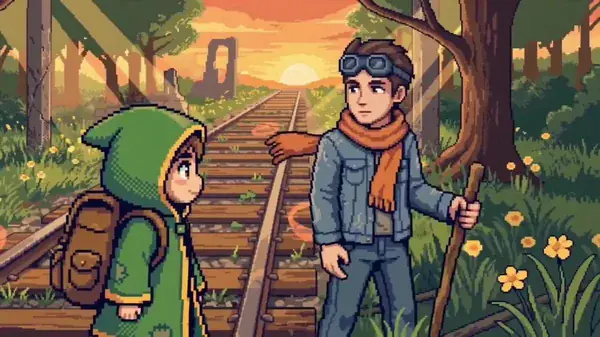
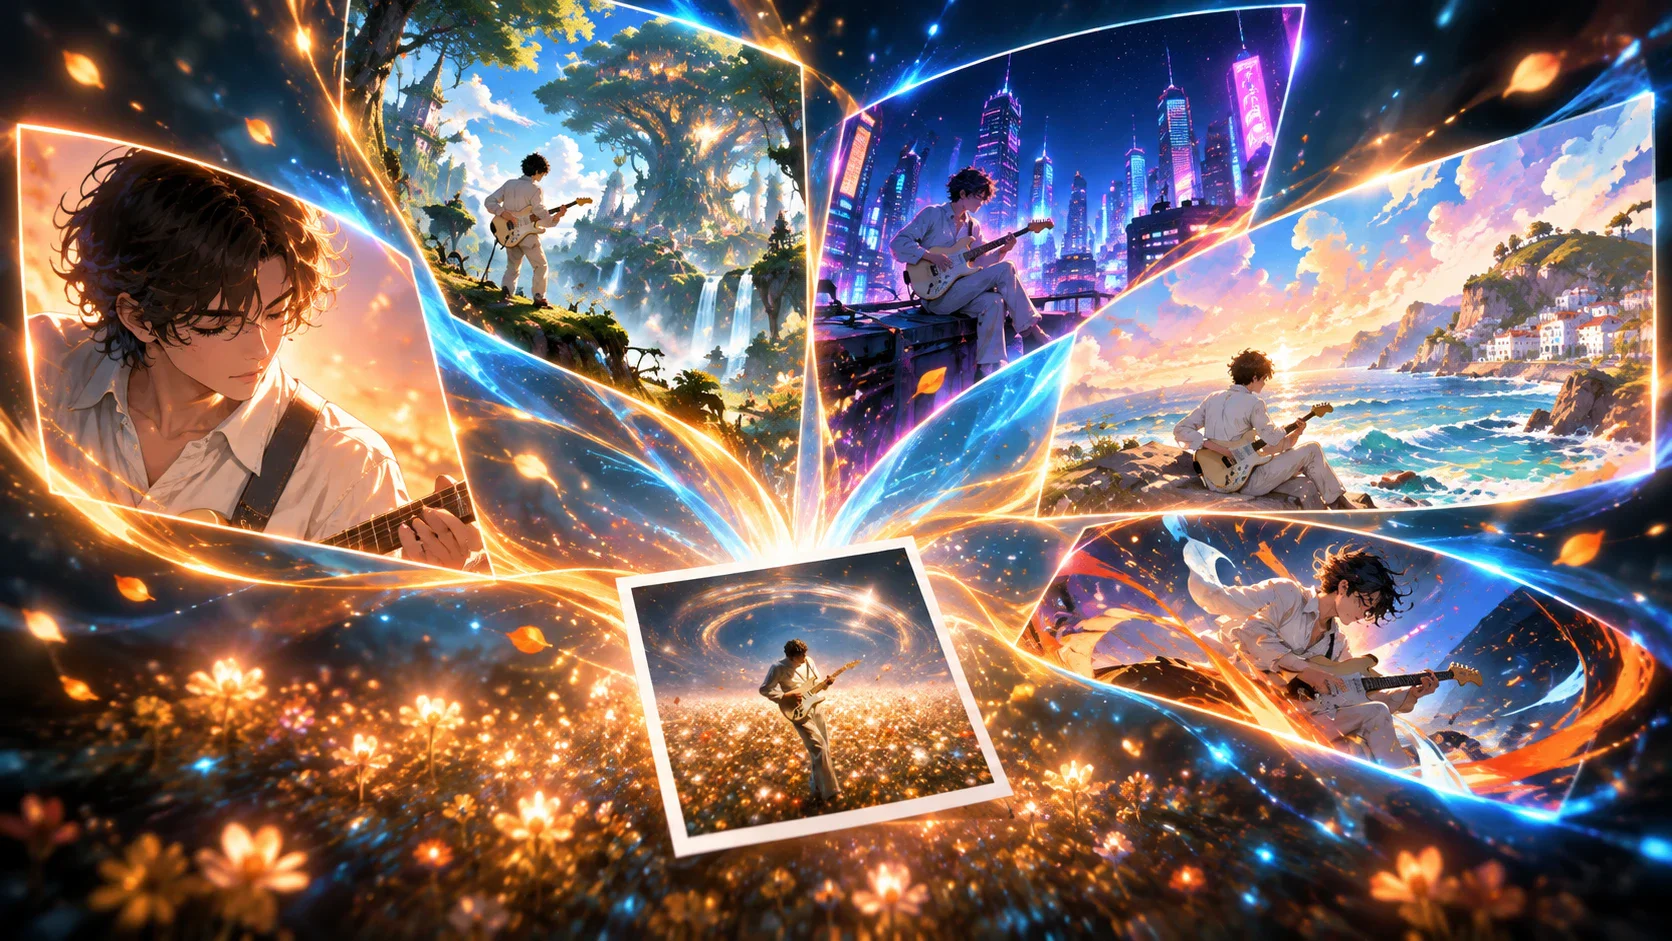
Useful direction focuses on what can be seen: fine or bold linework, flat cel shading, painted texture, warm sunset light, limited colors, energetic motion, soft facial proportions, or a cinematic wide composition. This produces a more controllable and original image than asking for an imitation of a living artist or a protected franchise. You can also specify whether you want a portrait, profile picture, manga panel, poster-like scene, or character concept sheet.
Protect Likeness Across Revisions
If the first anime image captures the face well, keep that result available as a reference for later versions. Repeat the essential identity details and change only the element that needs work. For example, ask for a different background while keeping the same face, hairstyle, expression, outfit, and camera angle. Focused revision instructions reduce unnecessary drift and make it easier to compare versions.
Plan Color, Lighting, and Background as One Scene
Anime art feels more coherent when the subject and setting share the same light. If the background is a rainy neon street, explain where the colored light reaches the face and clothing. If the scene is a warm interior, keep the shadows and palette consistent with that source. Mentioning the mood alone is less reliable than describing the visible choices that create it.
Check the Details Before You Download
Zoom in on the eyes, hands, accessories, text-like marks, and edges around the subject. Compare recognizable details with the original image and tell the image to anime converter what to correct if a person or object changed in an unwanted way. If the artwork will be cropped into an avatar, test the final square composition. If it will become a video reference, confirm that the character design is clear enough to reuse across shots.
Move from Anime Image to Animated Scene
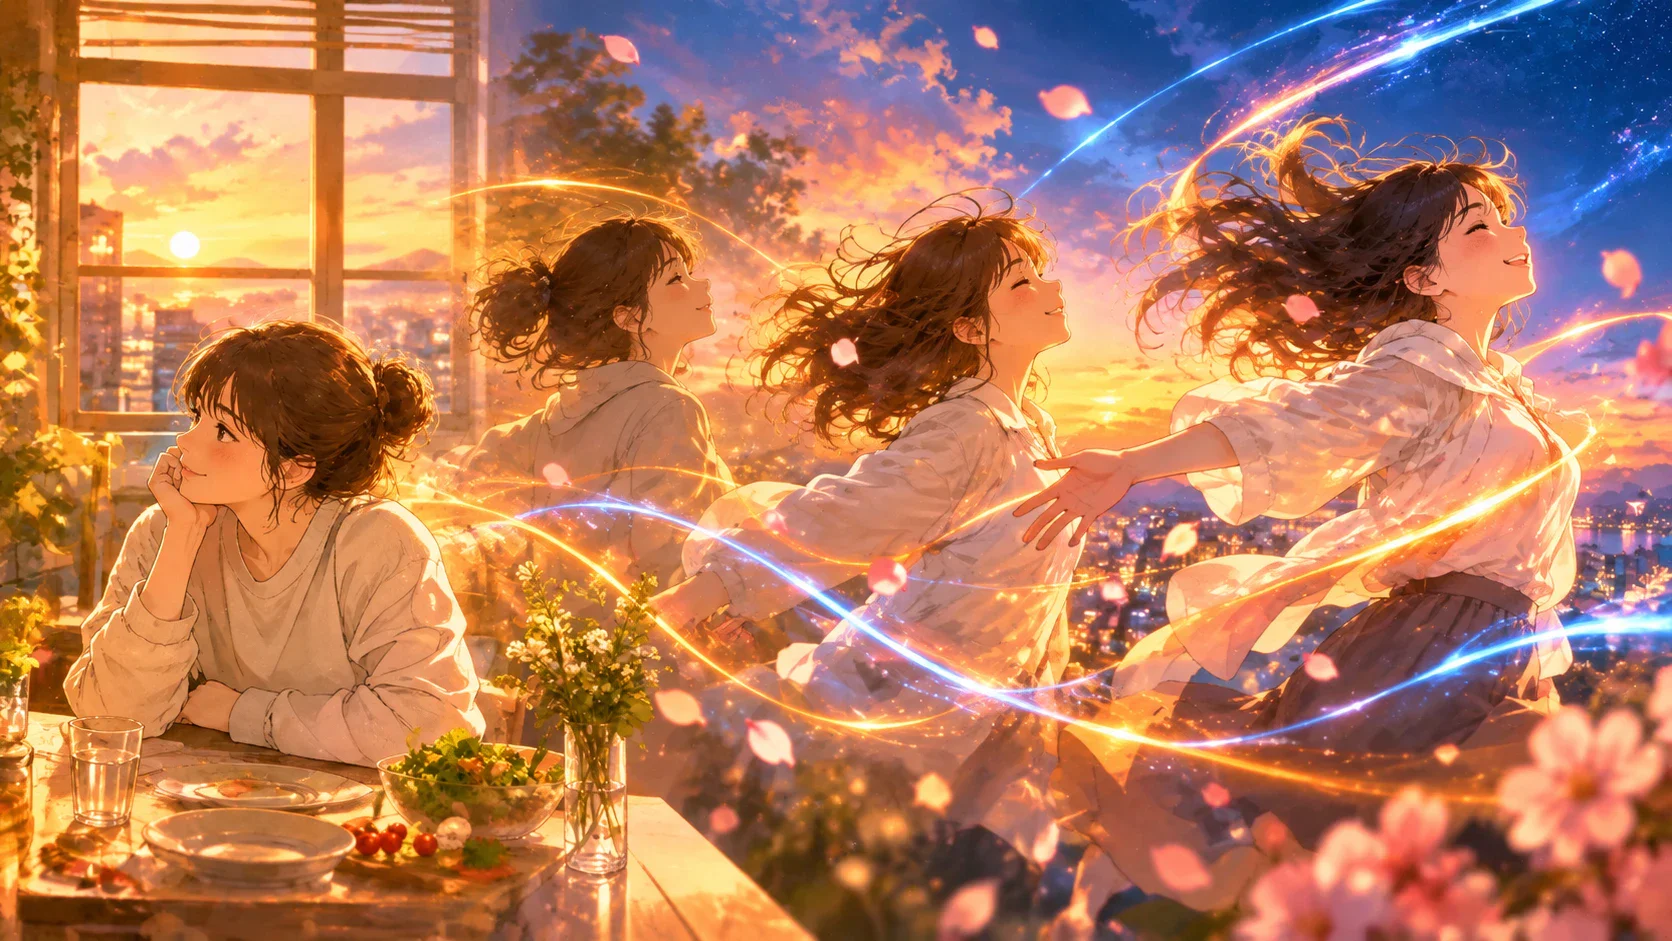
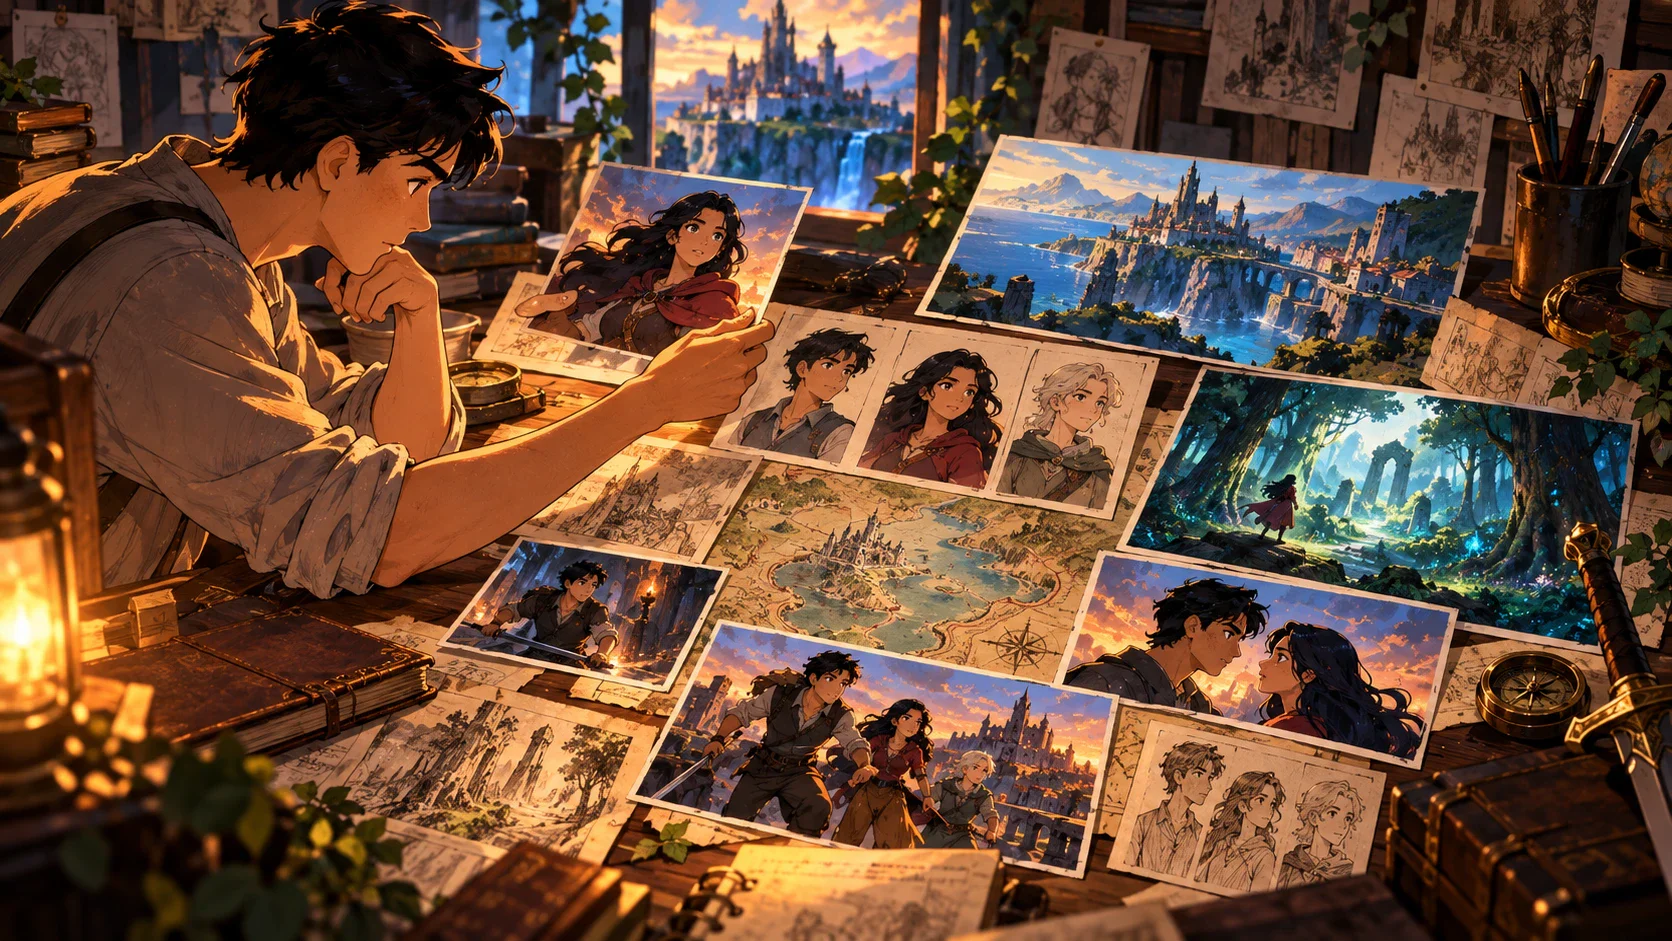
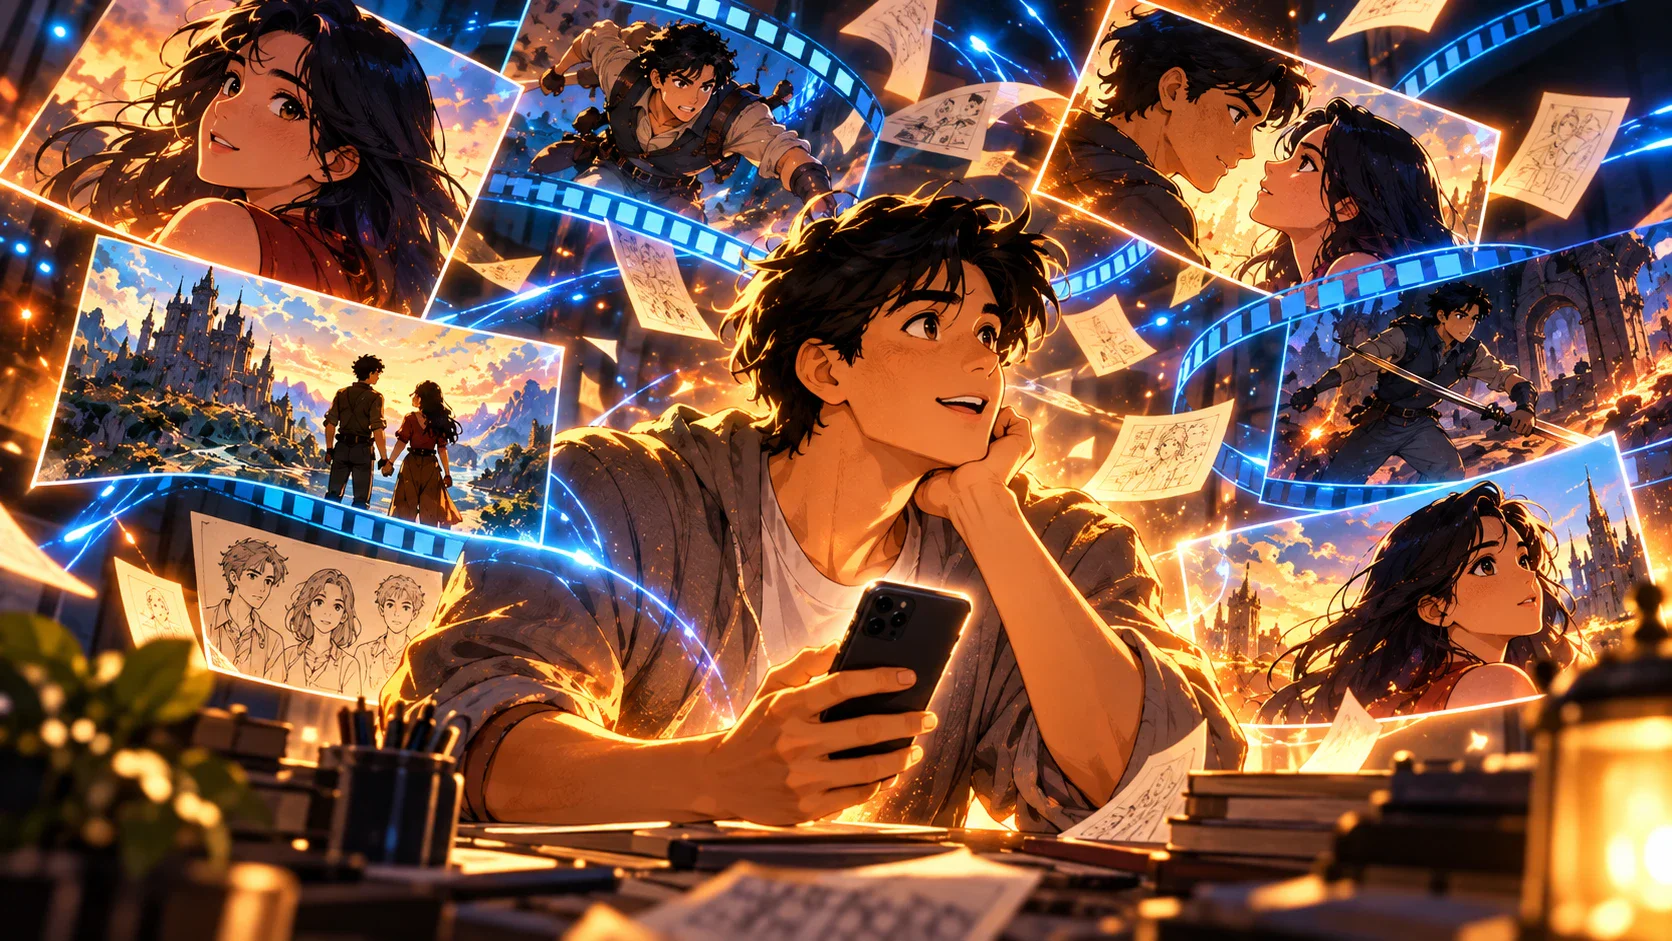
An approved still can become the visual foundation for a storyboard. Add a short description of the action, camera movement, environment, and sound. Break a longer idea into separate shots so each scene has one clear purpose. Reuse the same character image and visual description throughout the project, then review continuity before the final video edit.