Describe a Palette, Not Just a Mood
Describe the palette, lighting, and subject colors you want to plan with Flova Agent. Develop references and scenes around those choices, then refine a specific shot as your creative direction takes shape.

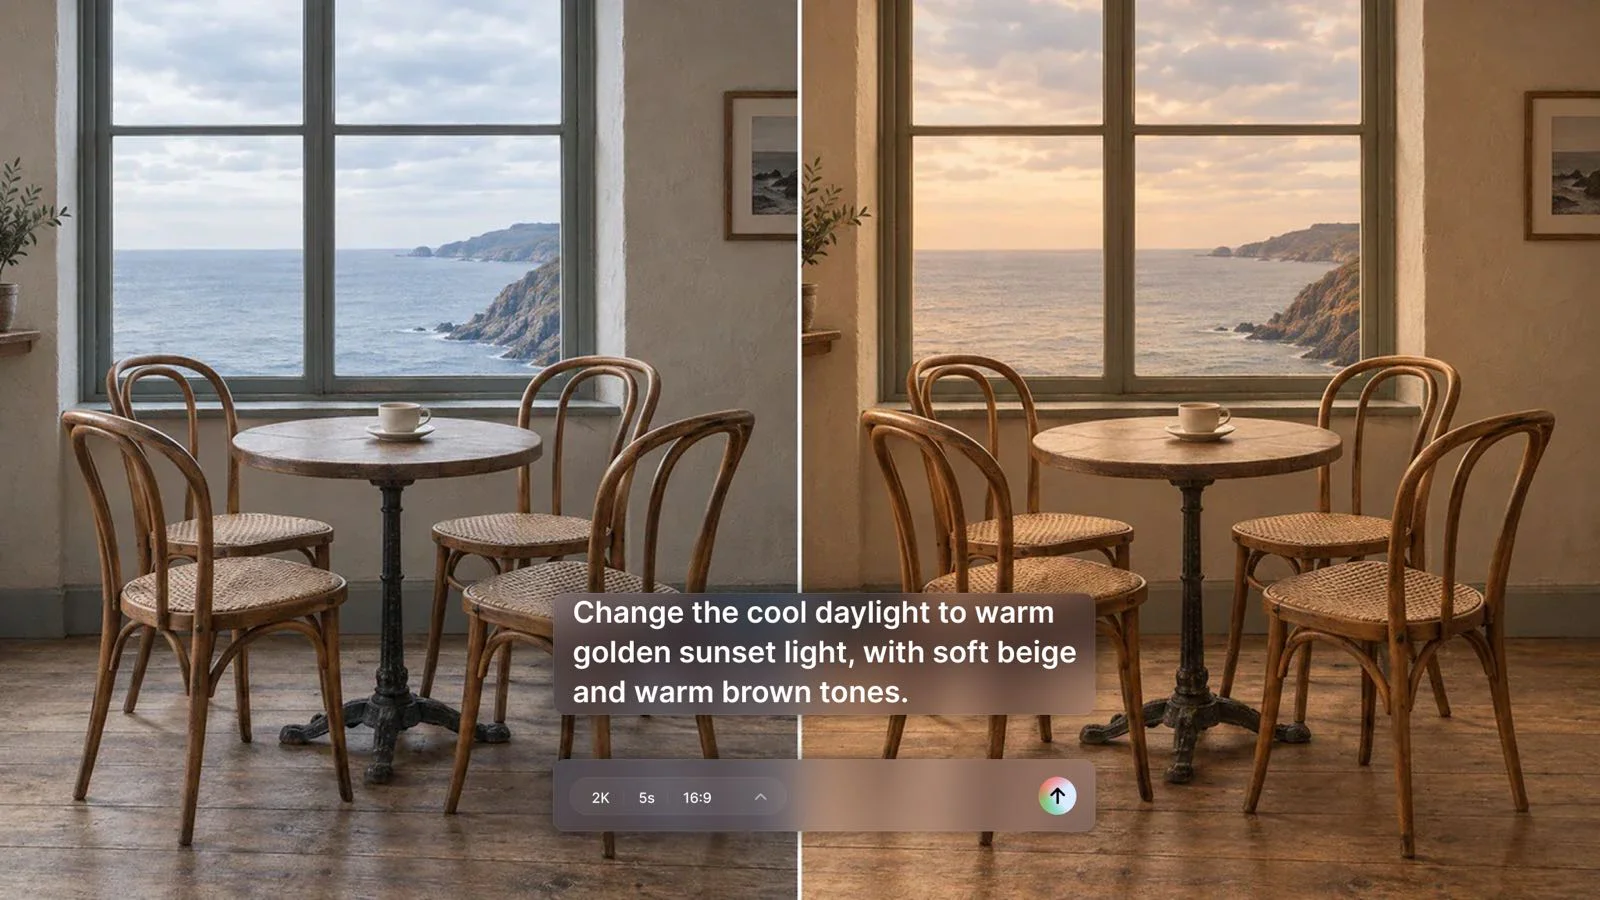


Develop a clear video color grading direction with Flova. Explore palettes and lighting through reference-led generation, build scenes around the look, and bring your selected shots together in one project.
Start Color GradingGive your scene a clear visual identity through palette, lighting, and reference choices. Carry that direction from the first reference into related shots and the final edit.
Describe the palette, lighting, and subject colors you want to plan with Flova Agent. Develop references and scenes around those choices, then refine a specific shot as your creative direction takes shape.
Use a reference image to give your scene a clear palette, contrast, and lighting direction. You can animate a reference image when a still is the right starting point, then develop related shots around the look you choose.
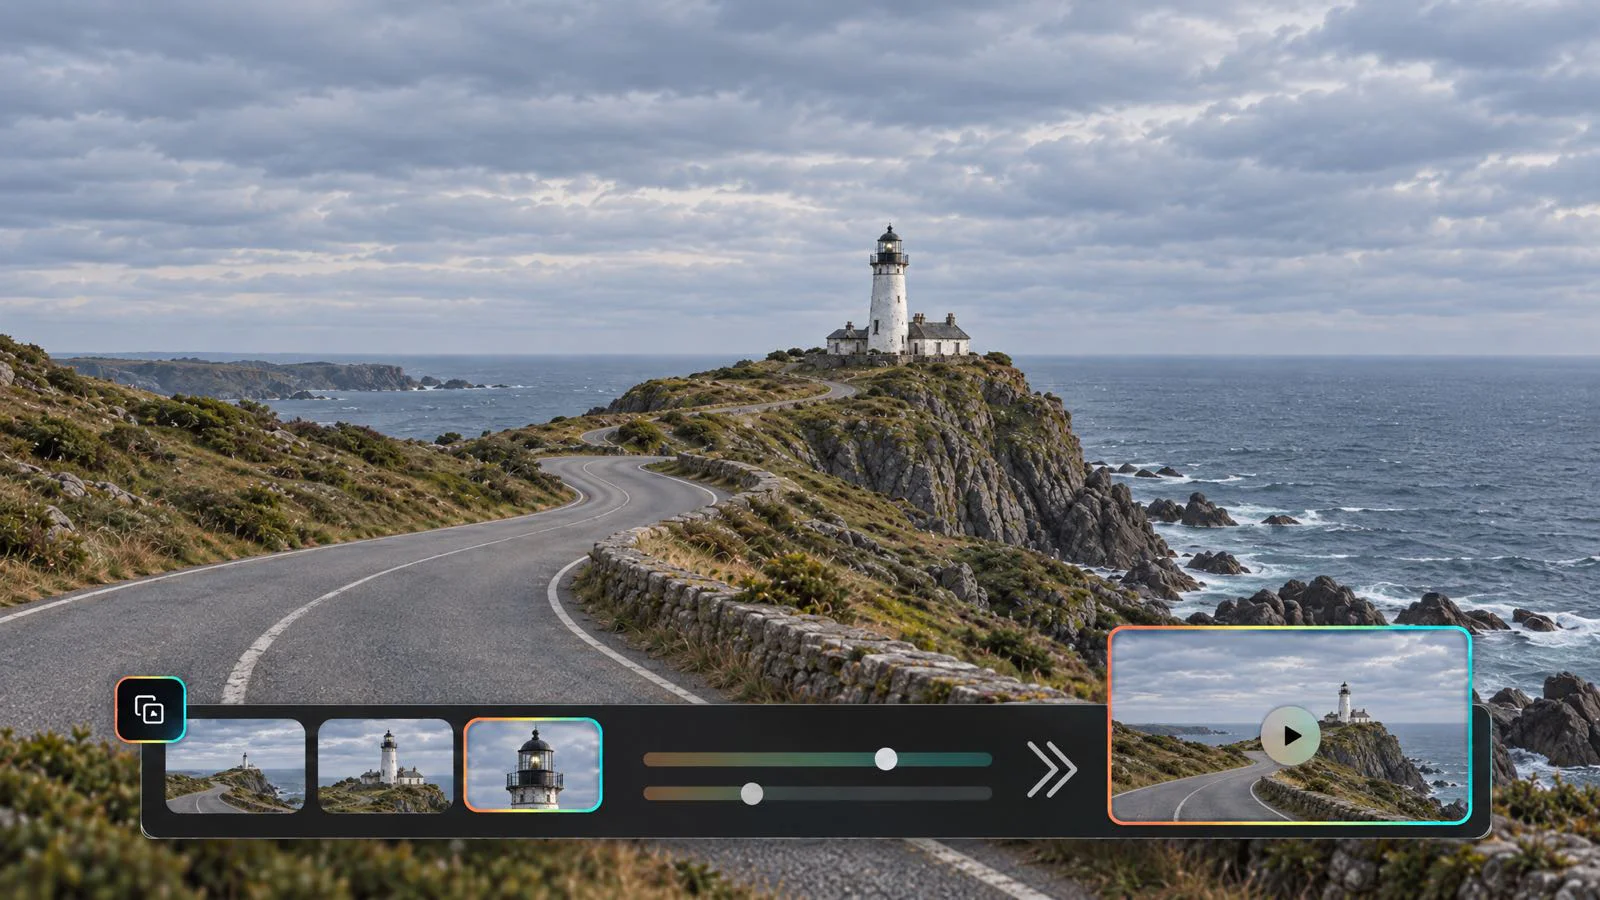
Keep approved palette and lighting references available when generating a new camera angle or detail shot. Describe the subject colors and materials that should remain recognizable. Compare candidate clips before selecting the sequence, and revise an individual shot when its appearance no longer fits the creative direction.

Assemble shots in the editing timeline to judge the look across neighboring cuts rather than isolated thumbnails. Review subject colors, shadow detail, and transitions at normal speed. Request a new version of a mismatched shot while keeping the rest of the approved direction as your reference.
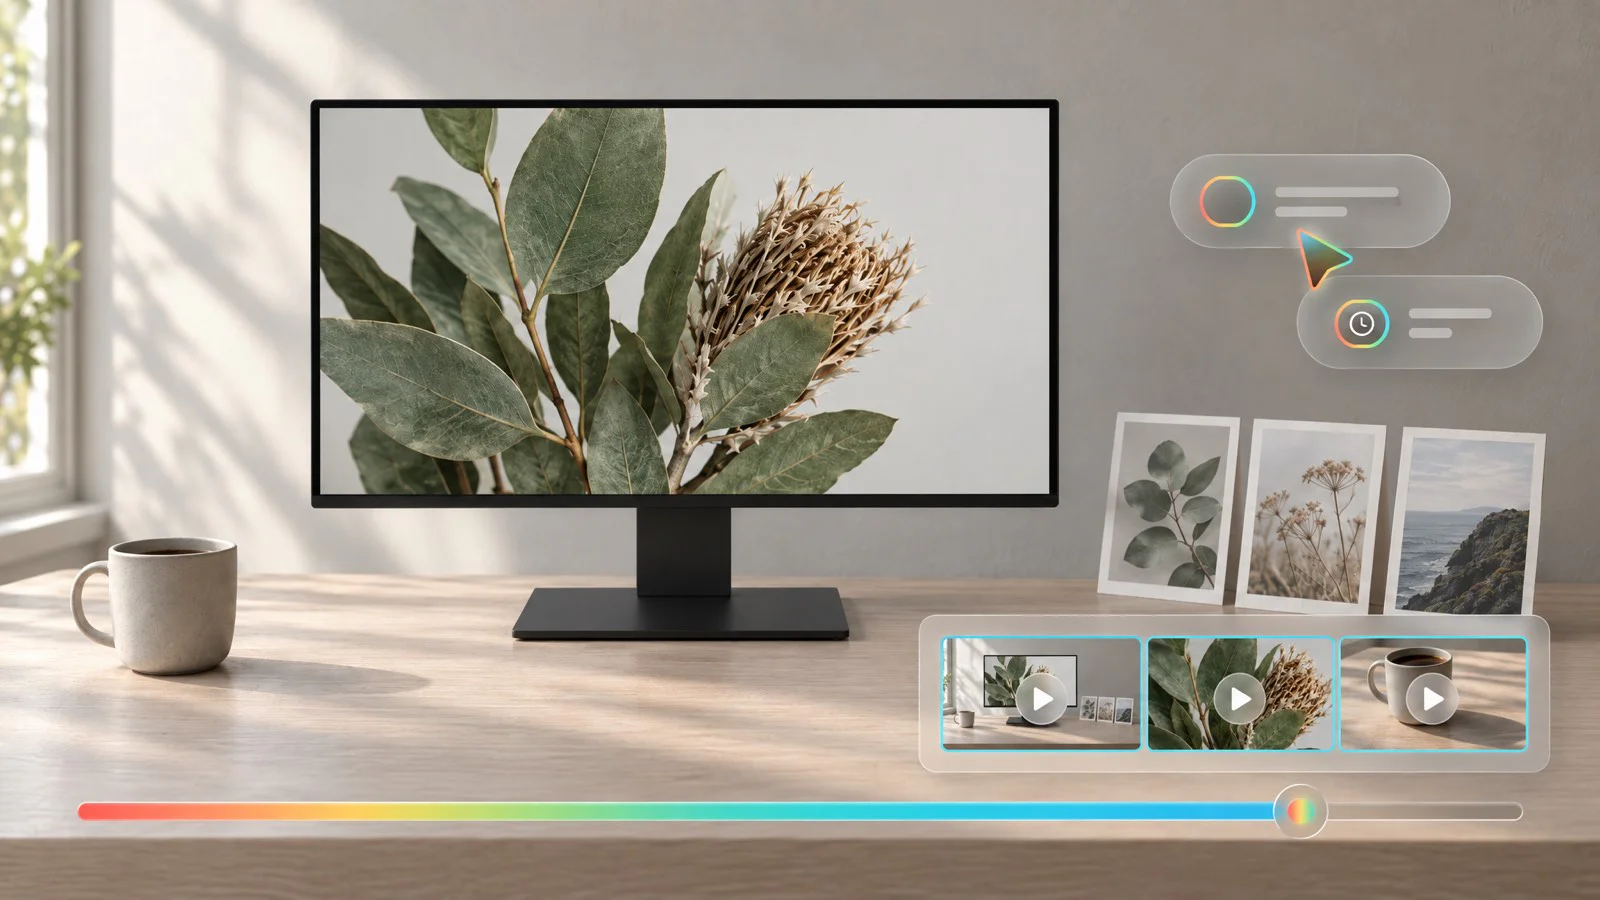
Flova Skills provide reusable workflows for creative tasks. Bring your palette, reference material, and scene goals into a repeatable starting brief for the next project.
Choose the look around the purpose of the scene. Product recognition, a believable location, and story atmosphere need different priorities, even when they share the same palette.
Start with the colors viewers need to recognize. Keep the bottle, packaging, or surface finish clear in your references, then describe how the background should support it. Use video color grading planning to keep recognizable product colors central while exploring the surrounding scene. Check product identity before approving a new creative look.

Start with the colors viewers need to recognize. Keep the bottle, packaging, or surface finish clear in your references, then describe how the background should support it. Use video color grading planning to keep recognizable product colors central while exploring the surrounding scene. Check product identity before approving a new creative look.
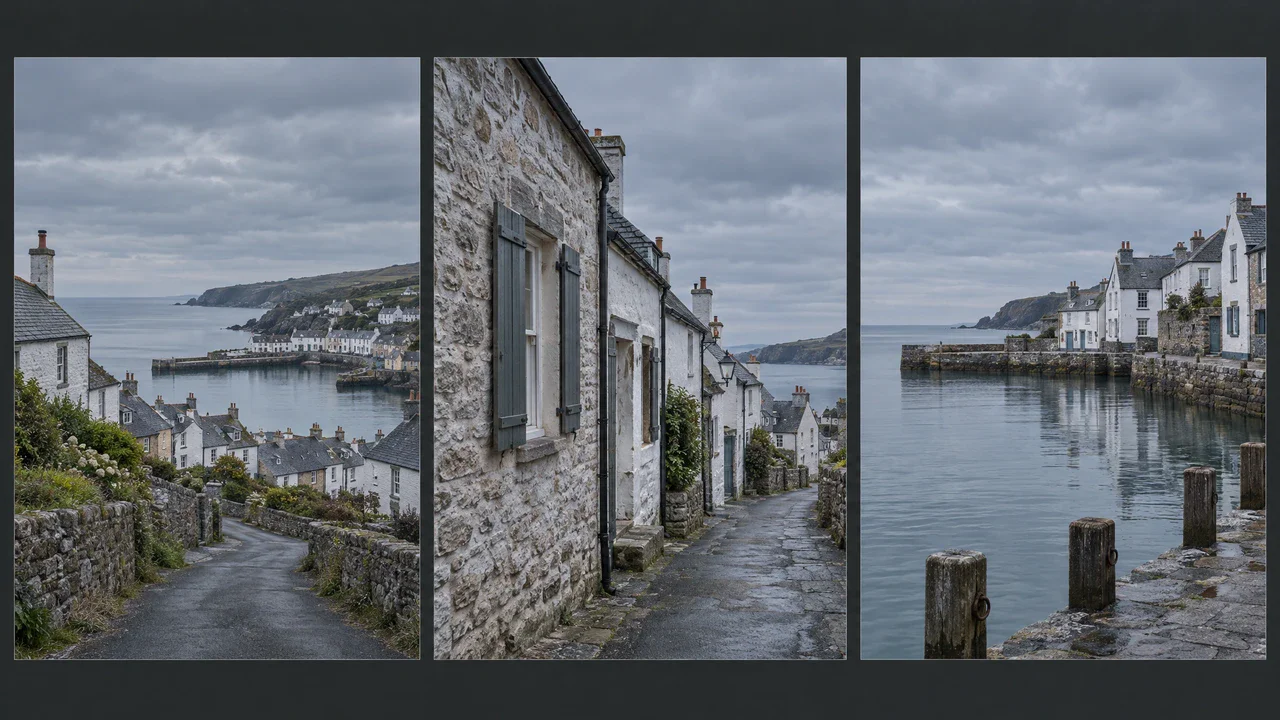
Use the location’s actual visual relationships as a starting point: pale walls, overcast skies, blue water, or warm earth. A consistent video color grading brief can connect wide views and close details while allowing natural differences between them. Avoid forcing every shot into the same heavy tint. Review the sequence for unintended jumps between bright sunshine and clouded daylight when those changes are not part of the story.
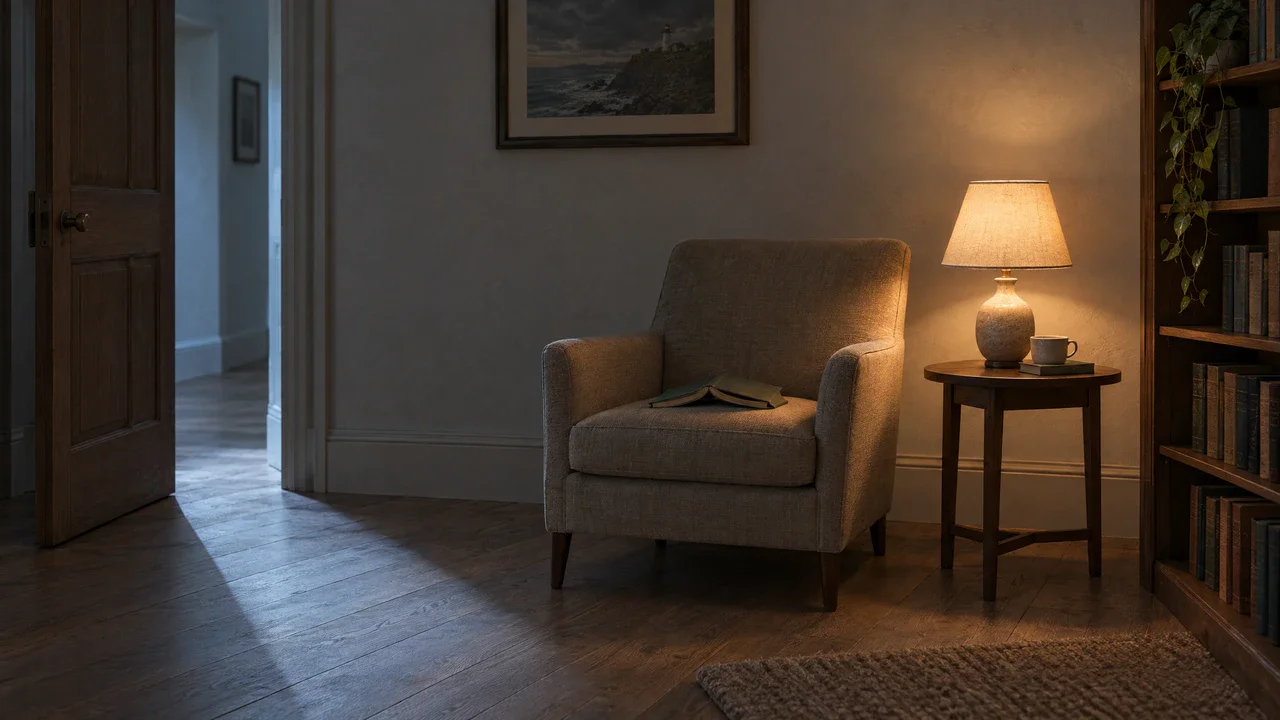
Give the color choices a story purpose. A cool room with one warm practical lamp can suggest isolation or comfort depending on framing and action. Describe that relationship instead of asking for random blue shadows and orange highlights. For narrative video color grading concepts, plan a multi-scene story in which changes in atmosphere serve the progression. An intentional shift can work; an unexplained shift can distract.

Create a compact palette that remains readable in a small frame. A strong subject-background separation is often more useful than complex color effects. Use video color grading notes to connect several crops or short campaign variations without making every version identical. Check whether the main object is still clear when the scene appears on a phone.
Start your AI video color grading project with a clear palette, lighting direction, and visual references. Follow these four steps to develop your video’s look, compare generated shots, and review the sequence before finishing.
Sign in and describe the video, audience, and intended mood. Explain whether you need new generated scenes, reference planning, or help organizing an existing edit.
Upload authorized images or clips. Identify the palette, contrast, and lighting qualities to follow, plus subject details that must not change.
Ask Flova Agent to plan and generate the relevant shots. Review their visual direction together, then request specific revisions where the palette or scene continuity drifts.
Watch the sequence at normal speed. Confirm the creative look, then use an appropriate finishing workflow if you need measured video color grading corrections before publication.
If a project needs a new visual direction, use references and generated previews to explore the palette. If it requires measured changes to existing frames, confirm the necessary grading controls in a dedicated finishing workflow. A regenerated scene may alter shapes, textures, and subject colors; an attractive preview is not proof that the original footage has been technically corrected. Keep creative exploration and source-preserving correction separate when deciding how to complete the job.
Identify details whose accuracy matters before approving the look: packaging colors, skin tones, materials, or the appearance of a recurring prop. Distinguish a flexible creative preference from a requirement that must match the source or a brand specification. For video color grading work that needs exact color reproduction, assess the delivered file through an appropriate color-managed workflow. A reference image or attractive generated preview alone cannot establish that level of accuracy.
Judge neighboring shots for unintended changes in subject color, neutral surfaces, shadow detail, and highlight behavior. Separate a color mismatch from a changed object or lighting setup, because they call for different corrections. Approve the creative sequence only when shifts are intentional and recognizable details remain usable. Before delivery, check the technical requirements for the publishing destination; creative approval does not itself confirm color-space compliance or calibrated output.
Bring your references, define the palette, and develop scenes around a look you can evaluate. Keep creative exploration in Flova connected to the rest of your project, with technical finishing requirements clearly separated.