Ground the Shot in Real Product Views
Bring front, side, and back images into the project to guide the item’s shape, materials, and details. Use the product-reference workflow to develop a visual starting point for the planned product shot.

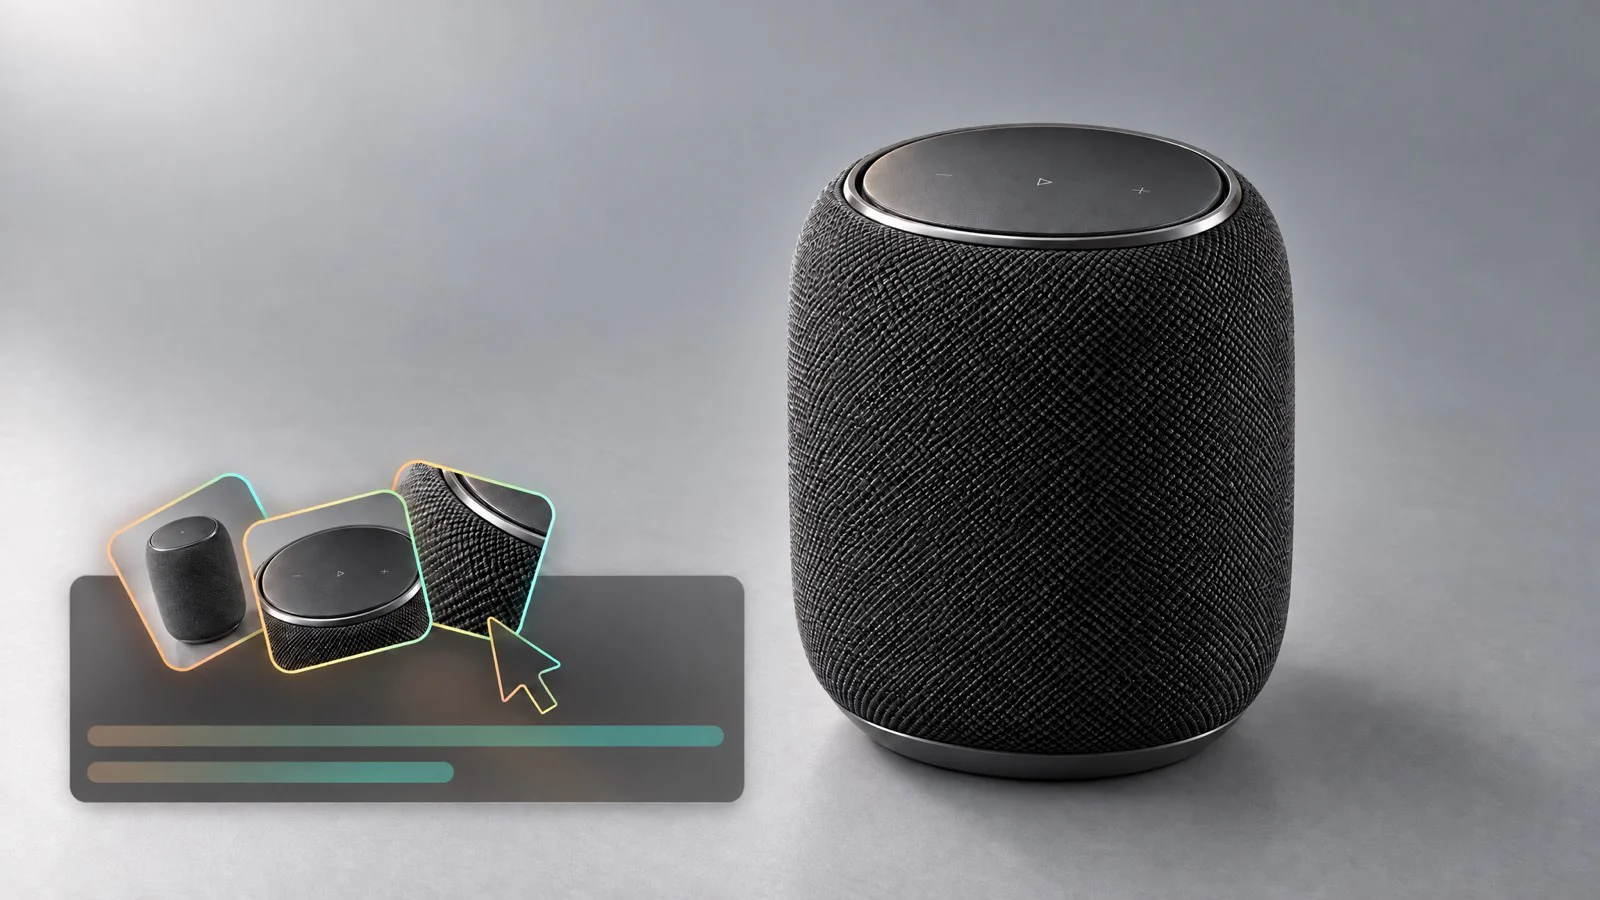


Show your product from changing angles with Flova’s 360 video maker. Use reference images to direct a product spin or camera orbit, then bring the selected shot into a listing, launch video, or social clip.
Create with FlovaUse a 360 product video maker workflow to connect product references, movement, and editing around one feature reveal. Build the shot for the listing, launch, or social placement where it will be used.
Bring front, side, and back images into the project to guide the item’s shape, materials, and details. Use the product-reference workflow to develop a visual starting point for the planned product shot.
Tell Flova Agent whether the object turns or the camera travels around it. Identify the starting view, ending view, direction, and intended feature reveal. Set a clear opening view, ending view, and feature reveal so the motion has a specific role in your product story.
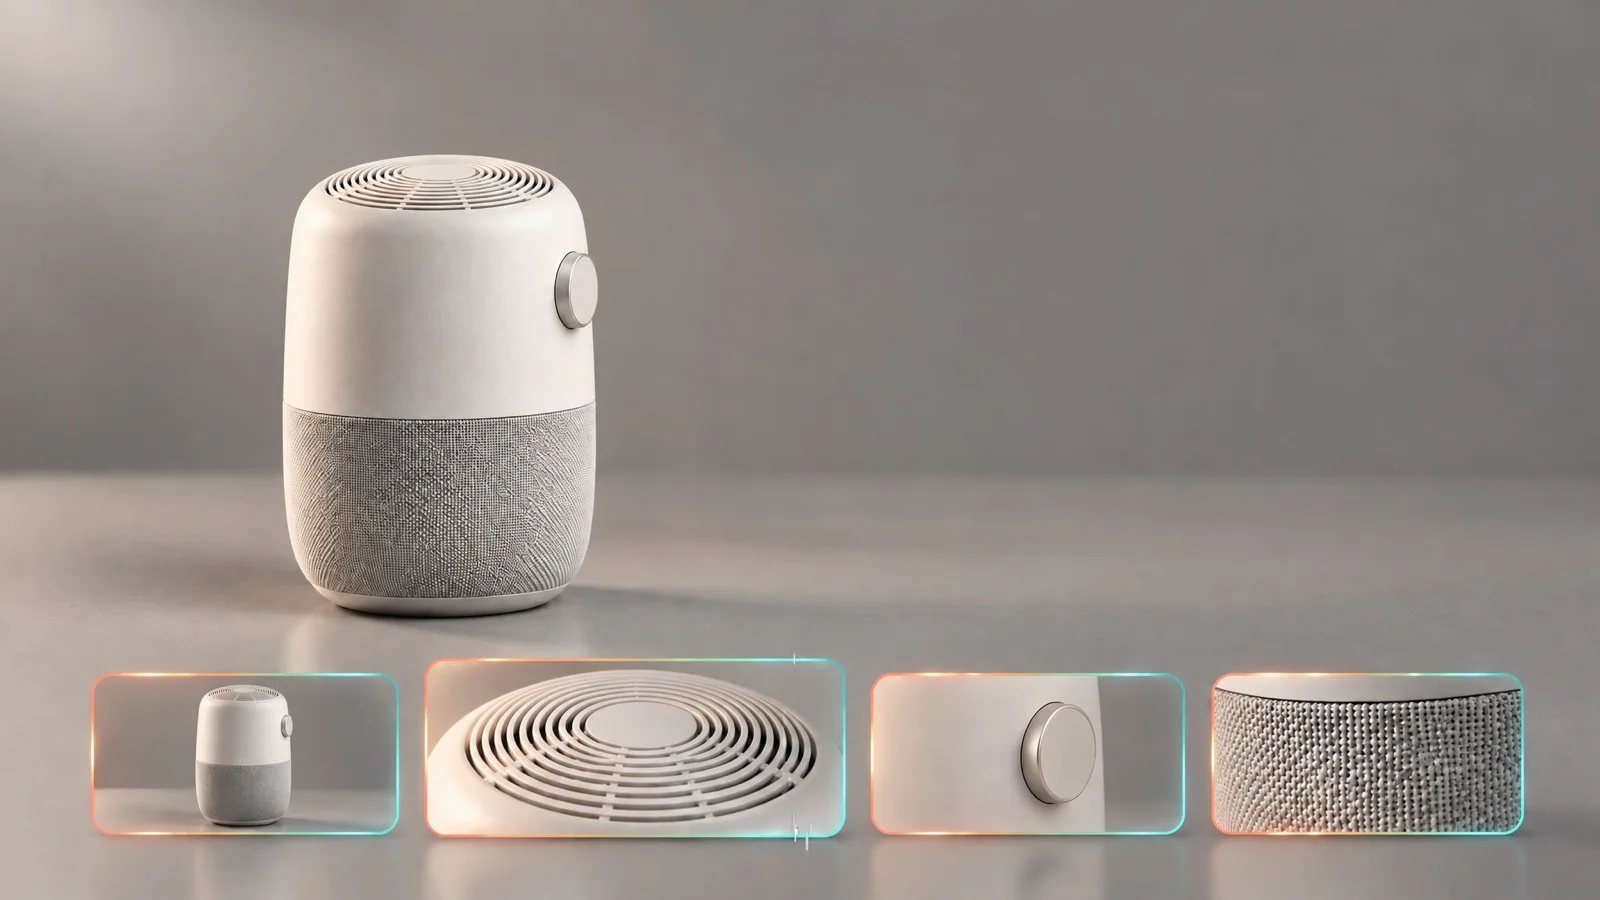
Use an image-to-video workflow to develop a product reference into a moving shot. Define one main movement and the setting around it, then choose the version that best presents the intended feature.
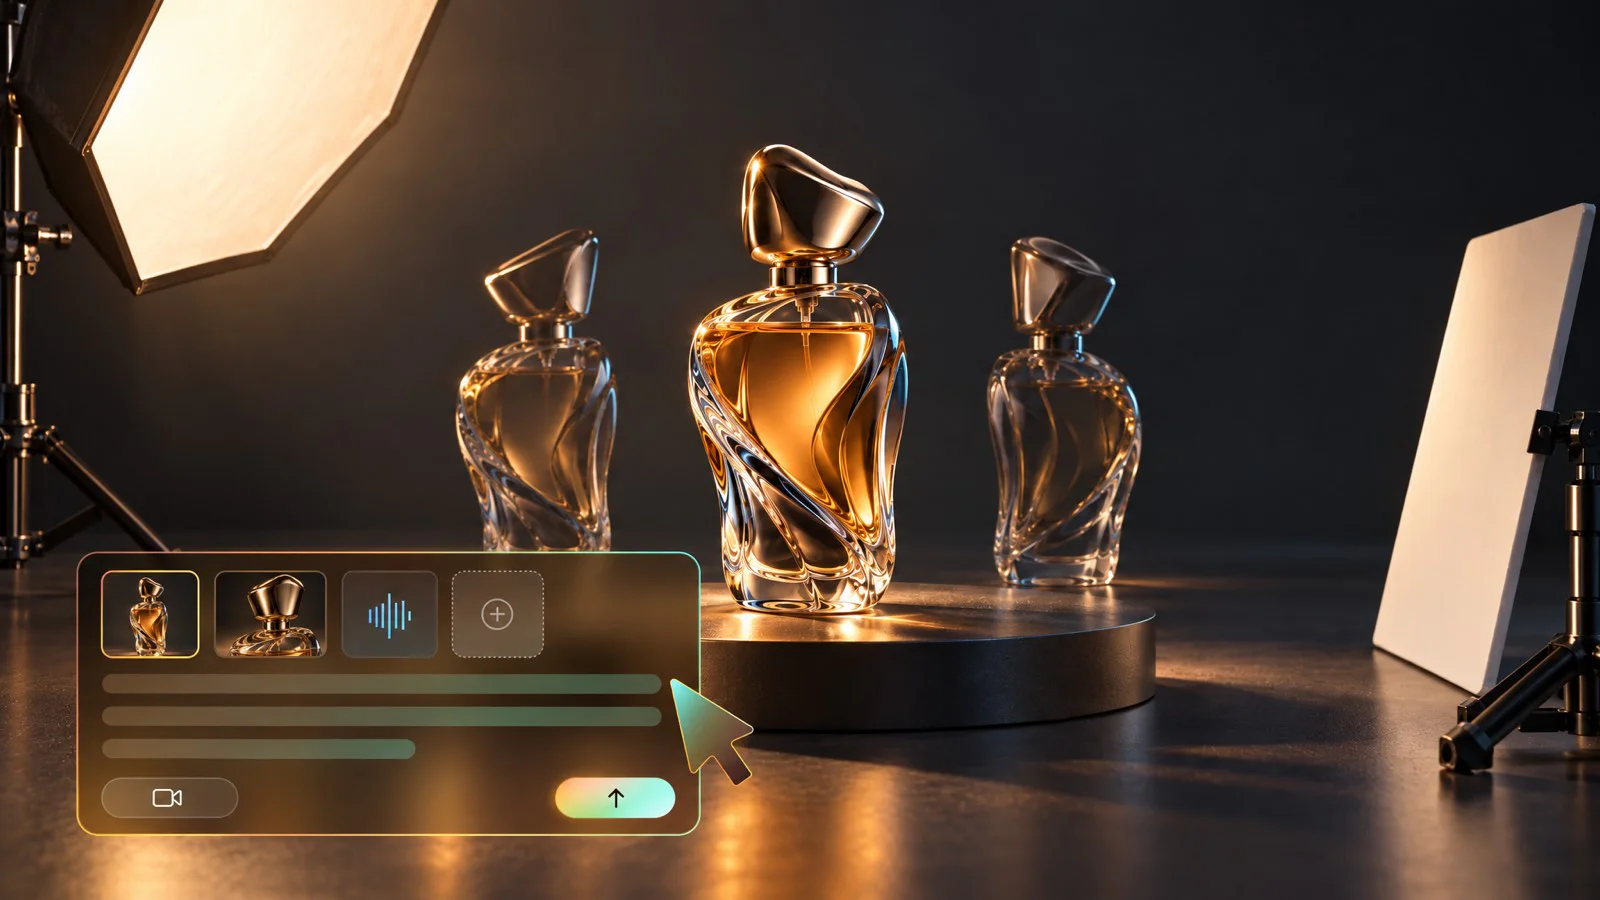
Use Flova Edits to shape the product reveal around its most useful view. Select the opening, trim the move, and set an ending that gives the viewer time to understand the defining detail.
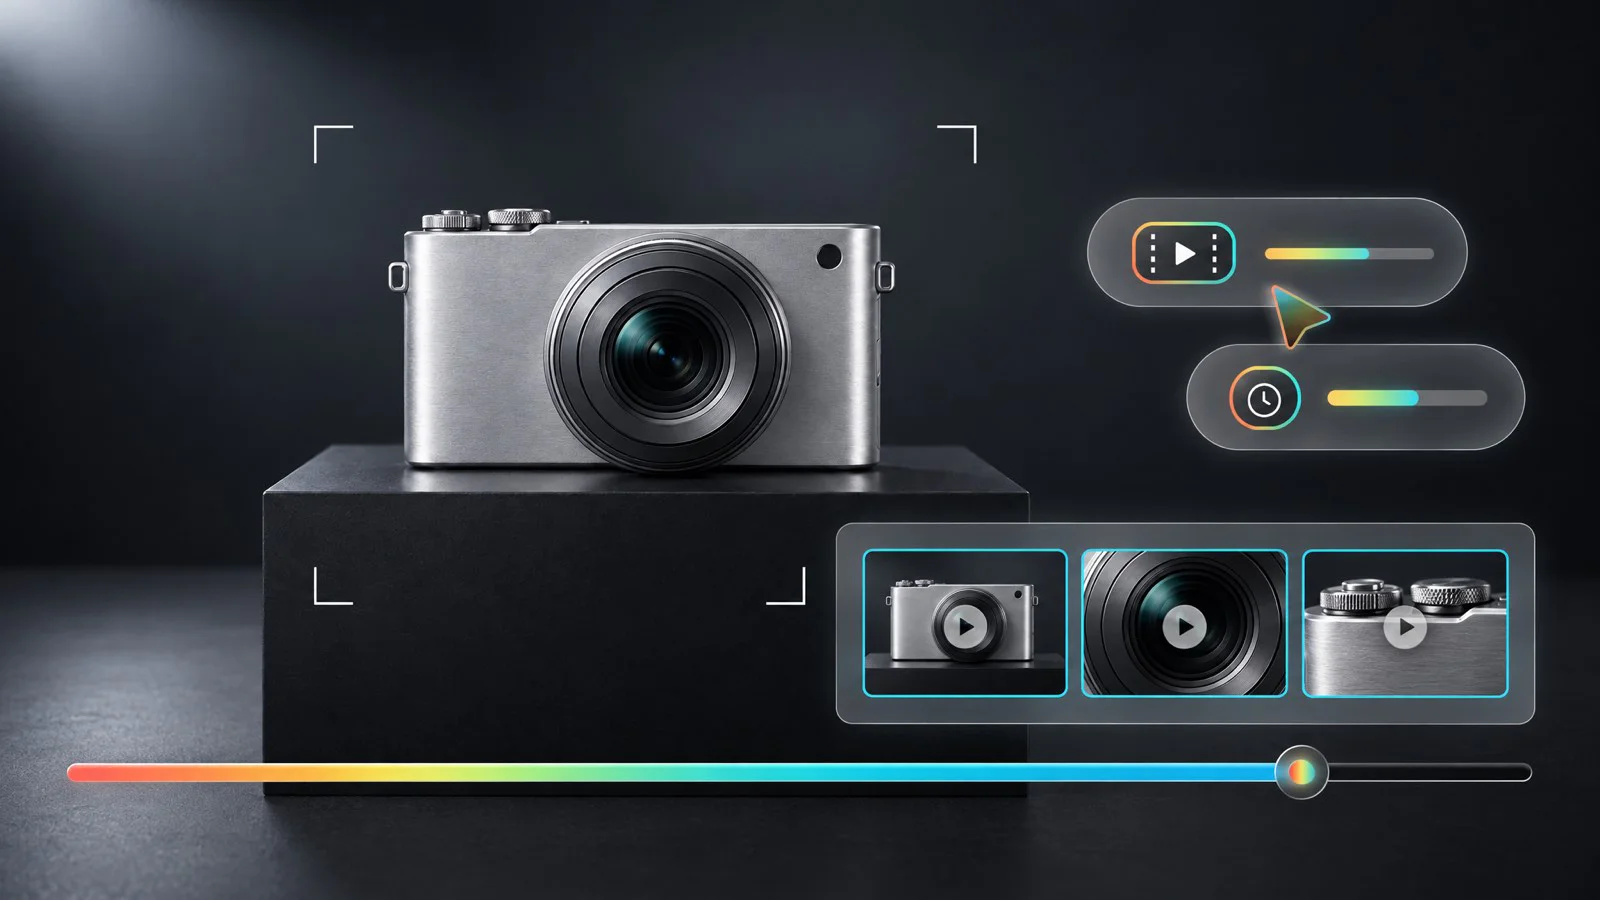
Start with commerce-focused Skills for a reusable approach to your product showcase. Add references and a motion brief to shape a product rotation video maker workflow around the feature you want viewers to notice.
Use rotation when the viewer benefits from seeing a different surface or profile. If the message depends on a specification, real demonstration, or label, a static approved view may be the better shot.
Reveal the depth, side profile, or construction of an item that is hard to understand from a thumbnail. Keep the product at a readable scale and avoid an elaborate background that competes with its outline. Choose the smallest movement that answers the buyer’s question.

Reveal the depth, side profile, or construction of an item that is hard to understand from a thumbnail. Keep the product at a readable scale and avoid an elaborate background that competes with its outline. Choose the smallest movement that answers the buyer’s question.

Start with a silhouette or partial angle and end on the feature that makes the item recognizable. Use cinematic story planning for the wider launch sequence. The orbit is one shot in that sequence, not a replacement for the entire product story.

A controlled arc can reveal the side of a shoe, bag, watch, or piece of jewelry. Keep the pace slow enough for the visible structure to register. Use real detail references when a clasp, seam, setting, or fastening affects what a buyer expects.

Give a feed viewer one changing view rather than several simultaneous motions. Keep the item visible at phone size and finish on a deliberate angle. For paid placements, develop product-focused ad variations separately instead of adding unrelated campaign claims to the rotation brief.
Use Flova as a 360 product video maker to create a product spin or camera orbit. Follow these four steps to add references, direct the motion, review the results, and export your selected clip.
Supply the real views needed for the planned shot. Identify the product version, color, material, and details that must remain recognizable. Do not ask a single front image to establish the truth of hidden construction.
Specify which element moves, the direction, starting angle, ending angle, and pace. State the surface or feature the viewer should understand. Request a partial arc when it communicates that feature more clearly than a full turn.
Choose an available suitable workflow and compare generated frames with the references. Inspect the angle changes and the item itself. Revise or shorten a candidate that changes a defining component instead of treating motion smoothness as sufficient approval.
Trim the accepted motion, check the finished placement, and follow the export workflow. If the shot loops, inspect its boundary separately. Keep the approved reference material with the edit for later revisions.
Use the 360 video creator workflow to develop a conventional video showing your product from changing angles. Choose whether the shot introduces the full silhouette, reveals a side profile, or draws attention to a particular feature. That purpose gives the references, framing, and movement a shared direction, so the selected clip has a clear role in a listing, launch video, or social sequence.
Gather the front, side, and back product views that relate to the planned movement. Include close details of the materials, controls, labels, or construction you want to show. Describe those references to Flova Agent as part of the same brief, linking the item’s appearance to the intended camera or object movement. More complete source views give the project clearer visual context for the changing angle.
Explain whether the product turns against a stable background or the camera moves around a fixed item. Name the starting view, direction, pace, and final detail to reveal. A partial arc can introduce one side or feature; a full-turn brief calls for a broader change of view. Keep one main movement at the center of the request, then choose the generated shot that serves the intended reveal.
Bring the selected product shot into Flova Edits and choose where the movement begins and ends. Trim the sequence around the most useful view, adjust its duration, and combine it with the surrounding shots and audio. For repeated playback, choose opening and ending views that work together. A deliberate endpoint gives a listing or launch sequence time to land on the product detail that matters.
Keep the product references and central feature while exploring different movement briefs. One version might use a slow side reveal, another a closer orbit, and a third a longer pause on the final angle. Change the setting or emphasis to suit the placement, then select the useful segment for each edit. This creates distinct presentation options from a shared product direction.

Start with the real item, choose a spin or orbit, and direct one useful reveal. Keep the segment that communicates the product clearly and accurately in its intended placement.